luca3xxvsoo/dsh-extra-plan
Project Overview项目介绍
dsh-extra-plan is a native DSH (DeepSeek Harness) plugin that ships a preset named "按需规划模式" (On-demand Planning Mode). Inspired by reasonix, it splits a task across five cooperating roles declared inside one DSH agent template: a main session that talks to the user and dispatches work, a background explorer that pre-processes large data and feeds raw findings back to the main session to keep the primary context light, a pro planner that calls a higher-tier model to produce a structured plan plus acceptance criteria, an executor that mechanically follows that plan while checking each step against the acceptance document, and a verifier that rigorously audits the final deliverable. The bundle also layers DSH's official PTC mode (merge multi-tool calls into one round-trip) and creative mode (auto-respect DSH conventions when authoring custom agent presets) on top, so users can experience both without leaving the preset.
Installation targets the DSH web plugin page: paste https://github.com/luca3xxvsoo/dsh-extra-plan#path:/plugins/dsh-extra-plan into the add-plugin dialog, allow the build, restart the DSH process, then pick the new preset from the preset list when starting a fresh chat. A companion sub-plugin dsh-qqbot-user-questions extends coverage to QQBot 0.5.0 and is installed via PowerShell 7+ one-liners (online or offline) that pin both packages, write their identifiers into the qqbot profile's package.json bundles array, and request a QQBot restart. Removal mirrors the install with dsh plugin --profile web/qqbot remove @local/dsh-extra-plan followed by another DSH process restart. It is built for power DSH users who need role separation, context isolation, cross-provider model routing, and a built-in verification loop for complex jobs.
Hard requirements are DSH v0.1.7-rc.1 through v0.2.0-rc.2 and QQBot 0.5.0 (the latter untested at release time), and the project is published under the MIT license. Only Windows has been actually exercised; the cross-platform write-interceptor logic in pe-test/tools/step-00 passed 68 cases on Windows but Linux and macOS remain unverified in real environments. A documented DSH v0.1.7-rc2 bug — cordis_inspect_query lacking a timeout — can freeze the explorer, executor, and verifier, and the README recommends keeping the creative-mode switch off as a workaround. Settings such as anchored, web_fetch, tool presentation mode, PTC try/catch gating, pro-planner model selection, cross-provider routing, and explore budget are all exposed in the plugin settings panel.
dsh-extra-plan 是面向 DSH(DeepSeek Harness)的原生插件,提供"按需规划模式"Agent 预设。作者借鉴 reasonix 的思路,将一次任务拆分为五个角色协同:主会话负责用户交互与任务分派;探查者承担后台批量数据探查与线索回传以避免主会话上下文过载;pro 规划调用高级模型输出含实施方案与验收标准的文档;执行者按规划机械式执行并持续对照验收文档;验收者严格按验收方案核对最终交付物。插件同时合并 DSH 原生 PTC 模式(多工具单次合并调用)与创造模式(自定义 Agent preset 规范),用户在 web 预设列表中可直接选用。
安装通过 dsh web 插件页添加 https://github.com/luca3xxvsoo/dsh-extra-plan#path:/plugins/dsh-extra-plan,allow build 后重启 DSH 进程即可在新建会话选择预设;QQBot 0.5.0 兼容插件需额外执行 PowerShell 一键脚本同时挂载 dsh-qqbot-user-questions,再重启 QQBot。卸载使用 dsh plugin --profile web/qqbot remove 命令。该插件面向需要多角色协同、上下文隔离、跨子代理模型调度与验收闭环的 DSH 高级用户,亦为自研 preset 提供 PTC 与创造模式样板。
依赖 DSH v0.1.7-rc.1 至 v0.2.0-rc.2,许可证为 MIT,仅在 Windows 实测正常,Linux/macOS 尚未真实环境验证。已知问题:DSH v0.1.7-rc2 下 cordis_inspect_query 无超时,子代理调用可能卡死,建议关闭创造模式开关规避。可在插件设置页调整 anchored、web_fetch、PTC、pro 规划模型与跨提供方等参数。
请帮我安装这个 DSH 插件。安装前先完成【兼容性检查 + 安全性检查】,检查通过再动手。

插件:dsh-extra-plan(luca3xxvsoo/dsh-extra-plan)
仓库:https://github.com/luca3xxvsoo/dsh-extra-plan
本站详情页:https://www.yhbd.top/plugins/luca3xxvsoo-dsh-extra-plan/
本站登记:类型 plugin · 归类 原生 DSH 插件 · 许可证 MIT · ⭐ 2 · 最近提交 2026-10-03 · 主语言 JavaScript · 未检测到 DSH 插件清单

按下面顺序执行,每步先把结论告诉我,再进入下一步:

【1 兼容性检查】
① 我这边:DSH 版本、Node 版本、操作系统、当前 profile(web / desktop)。
② 读它的 README、package.json、插件 manifest,列出它要求的 DSH 版本 / Node 版本 / 操作系统 / 外部依赖 / 需要另外先装的运行时。
③ 逐条比对,结论只写「满足 / 不满足 / 未知」三种;不满足的给出可行替代方案。
④ 检查是否和我已装的插件冲突:命令名重复、skill / tool 重名、端口占用、重复注册的 MCP server。

【2 安全性检查】
① 仓库可信度:和上面「本站登记」是否一致;star / fork 数、创建时间、最近提交,是否归档或长期停更。
② 安装脚本:逐行看 package.json 的 preinstall / install / postinstall,以及 install.sh、setup.ps1 之类脚本。出现 curl|bash、下载后直接执行、混淆代码、访问与插件功能无关的域名,立刻停下来告诉我,不要继续装。
③ 依赖:列出新增依赖,标出无人维护、或与知名包拼写近似的可疑包(typosquatting)。
④ 权限与副作用:它会读写哪些目录、访问哪些域名、需要哪些 DSH 权限(filesystem / network / shell / clipboard 等),以及怎么卸载和回滚。
⑤ 如果它要求 sudo / 管理员权限,或权限明显超出功能所需,先停下来问我。

【3 安装】
上面两步没有「不满足」和「高危项」时才执行;用官方推荐方式安装,不要自行提权。

【4 汇报】
用表格输出:检查项 / 结论 / 依据 / 是否需要我决策。拿不准的一律写「未知」并说明要我怎么确认——不要猜,也不要替我决定。
Send this message to DSH in your current session: it verifies compatibility and security first (answering met / not met / unknown item by item) and only installs once everything checks out — it will stop and ask you if it finds a high-risk item. The box scrolls; the copy is the full prompt. CLI install commands may not be accurate across systems, so DSH is the safer route.把上面这条消息直接发给当前会话里的 DSH:它会先核对兼容性与安全性(逐条给「满足 / 不满足 / 未知」),确认没问题再安装,有高危项会停下来问你。框内可滚动,复制到的是完整提示词;安装命令不一定准确,发给 DSH 更稳。
- Only 2 stars - very few users, little community feedback星标只有 2,几乎没人在用,遇到问题缺少社区反馈
- No DSH plugin manifest detected - it may only carry the dsh-plugin topic, so the install method must be confirmed on the spot未检测到 DSH 插件清单:可能只是打了 dsh-plugin 话题,安装方式要现场确认
DSH walks through these 9 checksDSH 会逐条核对这 9 项
Compatibility兼容性
- DSH, Node, OS and profile requirementsDSH 版本 / Node 版本 / 操作系统 / profile 是否满足要求
- External dependencies and runtimes (Electron / Python / Docker, ...)外部依赖与运行时(Electron / Python / Docker 等)是否齐备
- Conflicts with installed plugins: command names, skill / tool names, ports, duplicate MCP registration与已装插件是否冲突:命令名、skill / tool 重名、端口占用、重复 MCP 注册
Security安全性
- Repo matches the facts registered here; archived or abandoned?仓库是否与页面登记一致,是否归档或长期停更
- Safety of preinstall / install / postinstall and install.sh / setup.ps1preinstall / install / postinstall 与 install.sh、setup.ps1 是否安全
- curl|bash, download-then-execute, obfuscation, unrelated domains → stop immediatelycurl|bash、下载即执行、混淆代码、无关域名 → 立刻停止
- Typosquatting or unmaintained packages among the new dependencies新增依赖里有没有 typosquatting 或无人维护的包
- Requested permissions vs. what the feature actually needs申请了哪些权限、是否超出功能所需(filesystem / network / shell / clipboard)
- Any sudo / admin requirement, plus uninstall and rollback是否要求 sudo / 管理员权限,以及卸载与回滚方式
Anything uncertain must be marked unknown with a note on how to confirm it. This site's signal screen is a static snapshot, not a security audit.拿不准的必须标「未知」并说明要我怎么确认。本站的信号筛查是静态快照,不能替代安全审计。
Or use CLI install (for developers)或使用命令行安装(适合开发者)
CLI Install命令行安装
dsh plugin --profile web add github:luca3xxvsoo/dsh-extra-plan把 luca3xxvsoo/dsh-extra-plan 加入你的 DSH 配置(web profile)即可启用。
READMEREADME
按需规划模式介绍
1. 一句话概述
作者从reasonix得到的灵感,实现权限控制+子代理角色分配的agent模板
兼容性:DSH = v0.1.7-rc.1 ~ v0.2.0-rc.2、qqbot 0.5.0(暂未测试)。旧版本兼容详见Releases
2. 核心优势
通过设定 主会话、探查者、pro规划、执行者、验收者 五个角色,让DSH工作时按照明确的流程进行分工
- 主会话:作为与用户直接交互的入口,负责日常沟通、需求接收与任务分派。它是整个工作流的发起者和协调者,确保用户意图被准确传达
- 探查者:承担后台批量数据探查与线索回传工作。主动运行,将原始信息预处理后再转交主会话,有效避免主会话上下文过载,保持对话轻量与高效
- pro规划:调用高级模型对用户需求进行深度分析与结构化规划,输出包含实施方案和验收标准的正式文档。为后续执行与验收提供权威依据
- 执行者:严格按照规划方案进行机械式执行,并在每一步操作中持续对照验收文档,确保过程与预期一致,最大限度降低人为偏差
- 验收者:严格按照验收方案进行机械式执行,确保最终交付物完全符合既定质量要求
并合并了DSH Agent预设模式中的 PTC模式、创造模式 包含的功能,可以直接在本模式同时体验
- PTC模式:将多个工具调用合并为一次执行,大幅减少与模型的交互轮次,显著降低了重复传输的冗余开销。手动切换开关
- 创造模式:创建自定义Agent preset时自动遵守DSH规范。手动切换开关
3. 安装及卸载方式(面向 DSH 环境用户)
核心安装
- dsh web - 插件 - 添加插件 - https://github.com/luca3xxvsoo/dsh-extra-plan#path:/plugins/dsh-extra-plan 或 [解压路径]/dsh-extra-plan-main/plugins/dsh-extra-plan - 允许脚本并重试 - 立即启用
- 重启 DSH 进程使插件生效
- 新建会话,在预设列表中选择「按需规划模式」
qqbot兼容插件安装
- 安装
$repo='luca3xxvsoo/dsh-extra-plan'; $q="$repo#path:/plugins/dsh-qqbot-user-questions"; $allow='@local/dsh-qqbot-user-questions@git+https://github.com/luca3xxvsoo/dsh-extra-plan.git'; dsh plugin --profile qqbot add $q --allow-build="$allow"; $exitCode=$LASTEXITCODE; if($exitCode -ne 0){dsh plugin --profile qqbot approve-builds --all; dsh plugin --profile qqbot add $q --allow-build="$allow"; $exitCode=$LASTEXITCODE}; if($exitCode -eq 0){dsh plugin --profile qqbot approve-builds --all; if($LASTEXITCODE -eq 0){$profileDir=Join-Path $env:USERPROFILE '.dsh\profiles\qqbot'; Push-Location $profileDir; try { node -e "const fs=require('node:fs'),p='package.json';if(!fs.existsSync('node_modules/@local/dsh-extra-plan'))throw new Error('缺少 qqbot 到 web 的 dsh-extra-plan 链接');const j=JSON.parse(fs.readFileSync(p,'utf8'));j.dsh=j.dsh||{};j.dsh.profile=j.dsh.profile||{};const b=j.dsh.profile.bundles=Array.isArray(j.dsh.profile.bundles)?j.dsh.profile.bundles:[];let changed=false;for(const n of ['@local/dsh-qqbot-user-questions','@local/dsh-extra-plan'])if(!b.includes(n)){b.push(n);changed=true};if(changed){fs.copyFileSync(p,p+'.bak');fs.writeFileSync(p,JSON.stringify(j,null,2)+'\n')}" ; $nodeExit=$LASTEXITCODE } finally { Pop-Location }; if($nodeExit -eq 0){Write-Host '完整安装并激活成功,请重启 QQBot'}else{Write-Error 'bundle 激活失败'}}}else{Write-Error '插件安装失败'}
或
$src='[解压路径]\dsh-extra-plan-main'; $pkg=(Resolve-Path (Join-Path $src 'plugins\dsh-qqbot-user-questions')).Path -replace '\\','/'; $spec="file:///$pkg"; $allow="@local/dsh-qqbot-user-questions@file:$pkg"; dsh plugin --profile qqbot add $spec --allow-build="$allow"; $exitCode=$LASTEXITCODE; if($exitCode -ne 0){dsh plugin --profile qqbot approve-builds --all; dsh plugin --profile qqbot add $spec --allow-build="$allow"; $exitCode=$LASTEXITCODE}; if($exitCode -eq 0){dsh plugin --profile qqbot approve-builds --all; if($LASTEXITCODE -eq 0){$profileDir=Join-Path $env:USERPROFILE '.dsh\profiles\qqbot'; Push-Location $profileDir; try { node -e "const fs=require('node:fs'),p='package.json';if(!fs.existsSync('node_modules/@local/dsh-extra-plan'))throw new Error('缺少 qqbot 到 web 的 dsh-extra-plan 链接');const j=JSON.parse(fs.readFileSync(p,'utf8'));j.dsh=j.dsh||{};j.dsh.profile=j.dsh.profile||{};const b=j.dsh.profile.bundles=Array.isArray(j.dsh.profile.bundles)?j.dsh.profile.bundles:[];let c=false;for(const n of ['@local/dsh-qqbot-user-questions','@local/dsh-extra-plan'])if(!b.includes(n)){b.push(n);c=true};if(c){fs.copyFileSync(p,p+'.bak');fs.writeFileSync(p,JSON.stringify(j,null,2)+'\n')}" ; $nodeExit=$LASTEXITCODE } finally { Pop-Location }; if($nodeExit -eq 0){Write-Host '本地插件安装并激活完成,请重启 QQBot'}}}
- 重启 DSH 进程使插件生效
- qqbot下使用 /preset 切换预设
Showing the opening section of the README — the full document lives in the repository以上为 README 开头摘要,完整文档在仓库内 · View the full README on GitHub →在 GitHub 查看完整 README →
Related相关推荐
- LingyeSoul/dsh-tavern
-
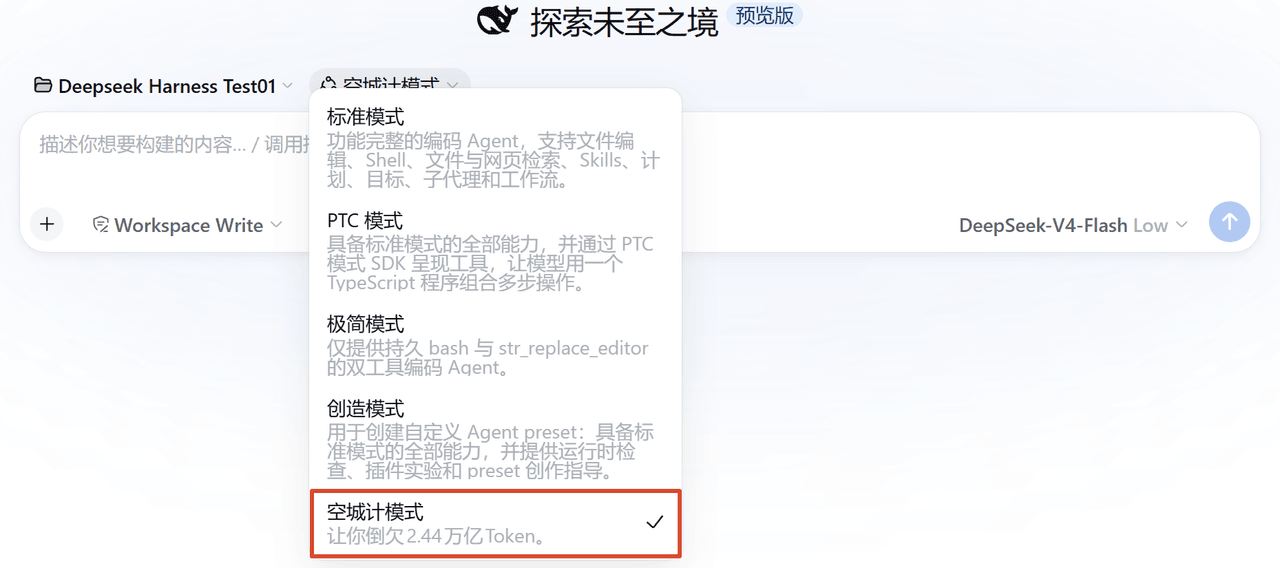 HuaJi2077/empty-fort-strategy
DSH插件,感受空城计的巧妙,消耗多余的Token。
HuaJi2077/empty-fort-strategy
DSH插件,感受空城计的巧妙,消耗多余的Token。
- ZelinW1/dsh-cosplay A cosplay plugin for DeepSeek Harness.
- shuind/dsh-codex-harness
-
 Nwflower/dsh-weneed
让dsh稳定触发We Need思维链,提高模型能力。
Nwflower/dsh-weneed
让dsh稳定触发We Need思维链,提高模型能力。
-
 GongYuanCaiJi/dsh-i-have-adhd
ADHD 友好输出风格(移植自 i-have-adhd)
GongYuanCaiJi/dsh-i-have-adhd
ADHD 友好输出风格(移植自 i-have-adhd)
-
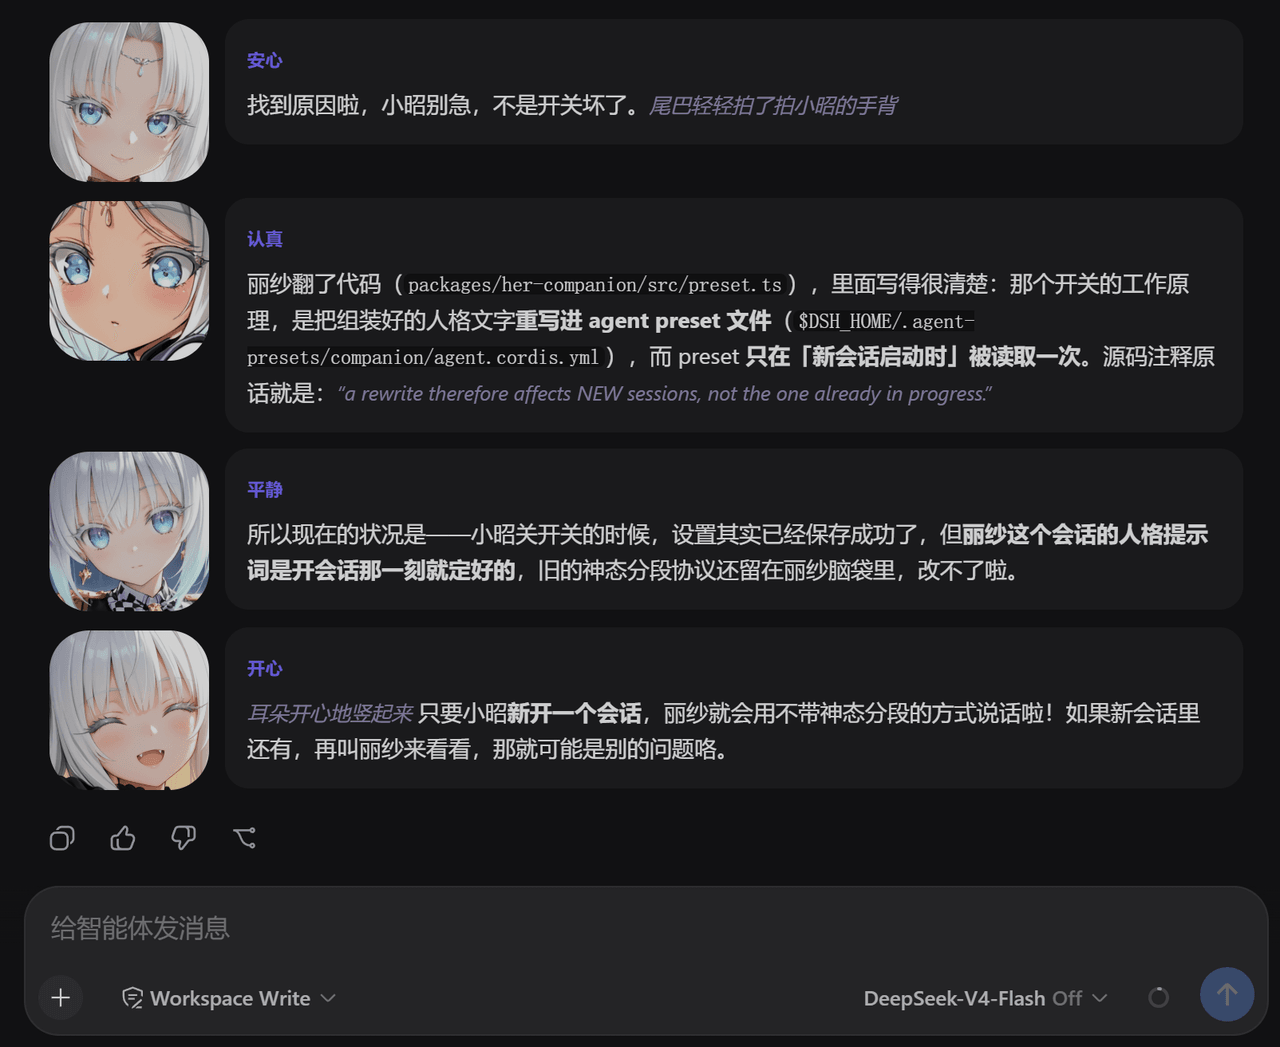 zhuyun017/dsh-her-companion
- L-xx1/dsh-win-fable-report