kikulmj/dsh-jupyter
为DeepSeek Harness Web GUI提供笔记本式工作台和本地Shell
Project Overview项目介绍
This is a native plugin built exclusively for DeepSeek Harness (DSH) that adds Jupyter notebook editing, execution, and a fully functional web-based terminal to the DSH web interface. It is installed via DSH's profile bundle layer, with two supported installation methods: remote install directly from GitHub, or local link install for plugin development. The full built output is already committed to the repository, so remote installs do not require a local build step on the user's machine. First-time installation requires modifying the DSH pnpm configuration to allow native compilation of the node-pty dependency, which takes around 10 seconds to complete.
After installation, the plugin adds a new terminal entry to the DSH left sidebar under the New Session section, and enables opening .ipynb files directly in the DSH right preview panel. To use the notebook feature, users just click any .ipynb file in the DSH Explorer, edit cells as needed, and press Shift+Enter to run individual cells. The web terminal starts with its working directory set automatically to the root of your current DSH project, and closing the terminal panel does not destroy the running shell session. This workflow lets developers complete all their work without leaving the DSH interface.
The plugin has a few requirements and limitations users should be aware of before installation. First, the Jupyter kernel bridge requires the host system's Python installation to include the jupyter_client and ipykernel packages. Only one terminal panel session can run at a time, and changes to the host-side code require a full restart of the dsh web process to take effect. All plugin routes include loopback-only and same-origin checks to prevent CSRF attacks and unauthorized access to the shell and notebook features that run with the full permissions of the host user account.
这是一个专为DeepSeek Harness(DSH)开发的原生插件,提供Jupyter notebook编辑运行和Web终端能力,通过DSH的profile bundle层安装。核心功能包括在DSH右侧预览面板点击打开.ipynb文件,支持编辑各类单元格、增删移动单元格、保存修改回磁盘,单元格由本地真实Jupyter内核执行,输出支持流式渲染,也支持中断和重启内核;左侧边栏新增Web终端入口,基于node-pty和xterm.js实现真实PTY终端。
典型工作流程是用户进入任意DSH项目会话后,点击右侧资源管理器中的.ipynb文件即可打开编辑面板,按下Shift+Enter运行对应单元格;点击左侧边栏新增的终端入口即可打开Web终端面板,终端初始工作目录自动设置为当前项目根目录。该插件面向需要在DSH会话中同时使用notebook和终端的开发人员,无需额外打开外部编辑器或终端工具即可完成全部工作。
安装分为远程GitHub安装和本地开发链接安装两种方式,远程安装无需本地构建,首次安装需要修改pnpm配置放行node-pty原生构建,完成后重启dsh web即可生效。该插件要求宿主Python环境安装jupyter_client和ipykernel,终端为单会话面板,关闭面板不会销毁shell,需要重启或exit结束会话,所有路由都做了loopback和同源校验保障安全。
请帮我安装这个 DSH 插件。安装前先完成【兼容性检查 + 安全性检查】,检查通过再动手。

插件:dsh-jupyter(kikulmj/dsh-jupyter)
仓库:https://github.com/kikulmj/dsh-jupyter
本站详情页:https://www.yhbd.top/plugins/kikulmj-dsh-jupyter/
本站登记:类型 plugin · 归类 原生 DSH 插件 · 许可证未声明 · ⭐ 6 · 最近提交 2026-08-18 · 主语言 JavaScript

按下面顺序执行,每步先把结论告诉我,再进入下一步:

【1 兼容性检查】
① 我这边:DSH 版本、Node 版本、操作系统、当前 profile(web / desktop)。
② 读它的 README、package.json、插件 manifest,列出它要求的 DSH 版本 / Node 版本 / 操作系统 / 外部依赖 / 需要另外先装的运行时。
③ 逐条比对,结论只写「满足 / 不满足 / 未知」三种;不满足的给出可行替代方案。
④ 检查是否和我已装的插件冲突:命令名重复、skill / tool 重名、端口占用、重复注册的 MCP server。

【2 安全性检查】
① 仓库可信度:和上面「本站登记」是否一致;star / fork 数、创建时间、最近提交,是否归档或长期停更。
② 安装脚本:逐行看 package.json 的 preinstall / install / postinstall,以及 install.sh、setup.ps1 之类脚本。出现 curl|bash、下载后直接执行、混淆代码、访问与插件功能无关的域名,立刻停下来告诉我,不要继续装。
③ 依赖:列出新增依赖,标出无人维护、或与知名包拼写近似的可疑包(typosquatting)。
④ 权限与副作用:它会读写哪些目录、访问哪些域名、需要哪些 DSH 权限(filesystem / network / shell / clipboard 等),以及怎么卸载和回滚。
⑤ 如果它要求 sudo / 管理员权限,或权限明显超出功能所需,先停下来问我。

【3 安装】
上面两步没有「不满足」和「高危项」时才执行;用官方推荐方式安装,不要自行提权。

【4 汇报】
用表格输出:检查项 / 结论 / 依据 / 是否需要我决策。拿不准的一律写「未知」并说明要我怎么确认——不要猜,也不要替我决定。
Send this message to DSH in your current session: it verifies compatibility and security first (answering met / not met / unknown item by item) and only installs once everything checks out — it will stop and ask you if it finds a high-risk item. The box scrolls; the copy is the full prompt. CLI install commands may not be accurate across systems, so DSH is the safer route.把上面这条消息直接发给当前会话里的 DSH:它会先核对兼容性与安全性(逐条给「满足 / 不满足 / 未知」),确认没问题再安装,有高危项会停下来问你。框内可滚动,复制到的是完整提示词;安装命令不一定准确,发给 DSH 更稳。
- No license declared - all rights reserved by default; ask the author before commercial use or redistribution未声明开源许可证 —— 默认「保留所有权利」,商用或再分发前先问作者
- Only 6 stars - very few users, little community feedback星标只有 6,几乎没人在用,遇到问题缺少社区反馈
DSH walks through these 9 checksDSH 会逐条核对这 9 项
Compatibility兼容性
- DSH, Node, OS and profile requirementsDSH 版本 / Node 版本 / 操作系统 / profile 是否满足要求
- External dependencies and runtimes (Electron / Python / Docker, ...)外部依赖与运行时(Electron / Python / Docker 等)是否齐备
- Conflicts with installed plugins: command names, skill / tool names, ports, duplicate MCP registration与已装插件是否冲突:命令名、skill / tool 重名、端口占用、重复 MCP 注册
Security安全性
- Repo matches the facts registered here; archived or abandoned?仓库是否与页面登记一致,是否归档或长期停更
- Safety of preinstall / install / postinstall and install.sh / setup.ps1preinstall / install / postinstall 与 install.sh、setup.ps1 是否安全
- curl|bash, download-then-execute, obfuscation, unrelated domains → stop immediatelycurl|bash、下载即执行、混淆代码、无关域名 → 立刻停止
- Typosquatting or unmaintained packages among the new dependencies新增依赖里有没有 typosquatting 或无人维护的包
- Requested permissions vs. what the feature actually needs申请了哪些权限、是否超出功能所需(filesystem / network / shell / clipboard)
- Any sudo / admin requirement, plus uninstall and rollback是否要求 sudo / 管理员权限,以及卸载与回滚方式
Anything uncertain must be marked unknown with a note on how to confirm it. This site's signal screen is a static snapshot, not a security audit.拿不准的必须标「未知」并说明要我怎么确认。本站的信号筛查是静态快照,不能替代安全审计。
Or use CLI install (for developers)或使用命令行安装(适合开发者)
CLI Install命令行安装
dsh plugin --profile web add github:kikulmj/dsh-jupyter把 kikulmj/dsh-jupyter 加入你的 DSH 配置(web profile)即可启用。
READMEREADME
dsh-jupyter
Jupyter notebook 编辑 / 运行 + Web 终端的 dsh 插件(profile bundle 层安装)。
功能
Notebook:右侧预览面板点击
.ipynb打开,编辑 code/markdown/raw 单元格、增删移动、保存回磁盘;单元格由宿主真实 Jupyter 内核(jupyter_client)执行,输出流式渲染(文本 / HTML / 图片 / JSON / 错误),支持中断与重启内核。终端:左侧边栏「终端」入口(New Session 下方)展开中间列面板——node-pty 真实 PTY(TERM=xterm-256color)+ xterm.js,复制 / 粘贴走标准键盘快捷键,支持清屏 / 重启 / 关闭,关闭面板不销毁 shell。
安装
远程(GitHub):
dsh plugin --profile web add github:kikulmj/dsh-jupyter
# 或完整 URL:
dsh plugin --profile web add git+https://github.com/kikulmj/dsh-jupyter.git
本地开发(指向本地仓库,改代码 → pnpm build → 刷新即生效):
dsh plugin --profile web add link:/path/to/dsh-jupyter
构建产物(
lib/)已随仓库提交,远端安装无需本机构建。首次安装需放行 node-pty 原生构建(pnpm 11 默认阻止依赖的 build 脚本):第一次执行后 dsh 会在
~/.dsh/profiles/web/pnpm-workspace.yaml自动预写allowBuilds: { node-pty: set this to true or false },把它改成node-pty: true,再重跑同一条安装命令(node-pty 将本地编译,约 10 秒)。安装完成后重启dsh web生效。本地 link 安装时,
node-pty会从插件自身目录(仓库)解析,因此需先在仓库里pnpm install(仓库自带pnpm-workspace.yaml,已放行 node-pty 构建)。
卸载
dsh plugin --profile web remove @dsh-local/dsh-jupyter
自动移除 dependencies 与 bundles 中的插件条目;重启 dsh web 后界面入口消失。若之后再安装,按上文流程(含 allowBuilds 引导)重新执行即可。
验证
curl -o /dev/null -w "%{http_code}\n" http://127.0.0.1:3080/dsh-terminal/xterm.css # 200 = 宿主路由已注册
- 左侧边栏 New Session 下方出现「终端」入口,点击展开中间列终端面板。
- 远端安装后
~/.dsh/profiles/web/node_modules/@dsh-local/dsh-jupyter/lib/含index.js/client.js;本地 link 安装时该路径是指向仓库的软链接。
使用
- 进入任意项目会话。
- Notebook:右侧 Explorer 点击
.ipynb,Shift+Enter运行单元格。 - 终端:左侧边栏「终端」入口;shell 初始目录为当前项目根.
开发
pnpm install   # 首次:装依赖并编译 node-pty(原生模块)
pnpm build     # 生成 xterm.css.ts → tsc → tsdown → 复制 kernel_bridge.py / xterm.css
node-pty是原生模块,运行时经createRequire(import.meta.url)从插件自身目录解析——本地 link 安装时仓库必须有自己的node_modules。@xterm/xterm在构建时内联进 client bundle。- 客户端 bundle 改动:刷新页面(或 HMR)即生效;宿主端(路由 / PTY)改动需重启
dsh web。
架构
src/
  index.ts             宿主端:注册 /dsh-jupyter/* + /dsh-terminal/* 路由 + agent 通告
  core/                wire 类型(notebook + terminal)
  host/                notebook 服务/内核桥(jupyter_client);终端 PTY 管理器(node-pty)+ 路由
  client/              notebook 预览列注入;终端(侧边栏入口 + 中间列面板)
安全
- 所有路由 loopback-only + same-origin 校验(CSRF 防线),变更类 POST 要求
application/json。 - notebook 路由有 workspace 门禁;终端是真实 shell(宿主用户全权限、可
cd任意目录),不设门禁——真实防线是 loopback 同源校验(仅本机同源浏览器可开会话)。
限制
- 内核桥需宿主 Python 安装
jupyter_client、ipykernel。 - 终端为单会话面板:关闭面板不销毁 shell,重启 /
exit才结束 PTY;宿主卸载时全部回收。 - 宿主端(路由 / PTY)改动需重启
dsh web;客户端 bundle 改动走 HMR 自动重载。
Related相关推荐
-
 xiehuan123/dsh-deepread
Evidence-first reading for AI agents — turn articles, books and PDFs into traceable claims, evidence, source locations a…
xiehuan123/dsh-deepread
Evidence-first reading for AI agents — turn articles, books and PDFs into traceable claims, evidence, source locations a…
-
 PerryLink/dsh-plugin-guide
Installable DSH bundle: the dsh-plugin-guide plugin-development knowledge base as an on-demand agent skill. Official doc…
PerryLink/dsh-plugin-guide
Installable DSH bundle: the dsh-plugin-guide plugin-development knowledge base as an on-demand agent skill. Official doc…
-
 geml-spec/geml
One format, two readers. People and AI agents now co-write the same document. Legible for people; addressable, verifiabl…
geml-spec/geml
One format, two readers. People and AI agents now co-write the same document. Legible for people; addressable, verifiabl…
- Jesse-njx/dsh-cowork READ + WRITE for office documents & notebooks in DeepSeek Harness — doc_read/doc_write tools (xlsx, pdf, docx, pptx, ipy…
-
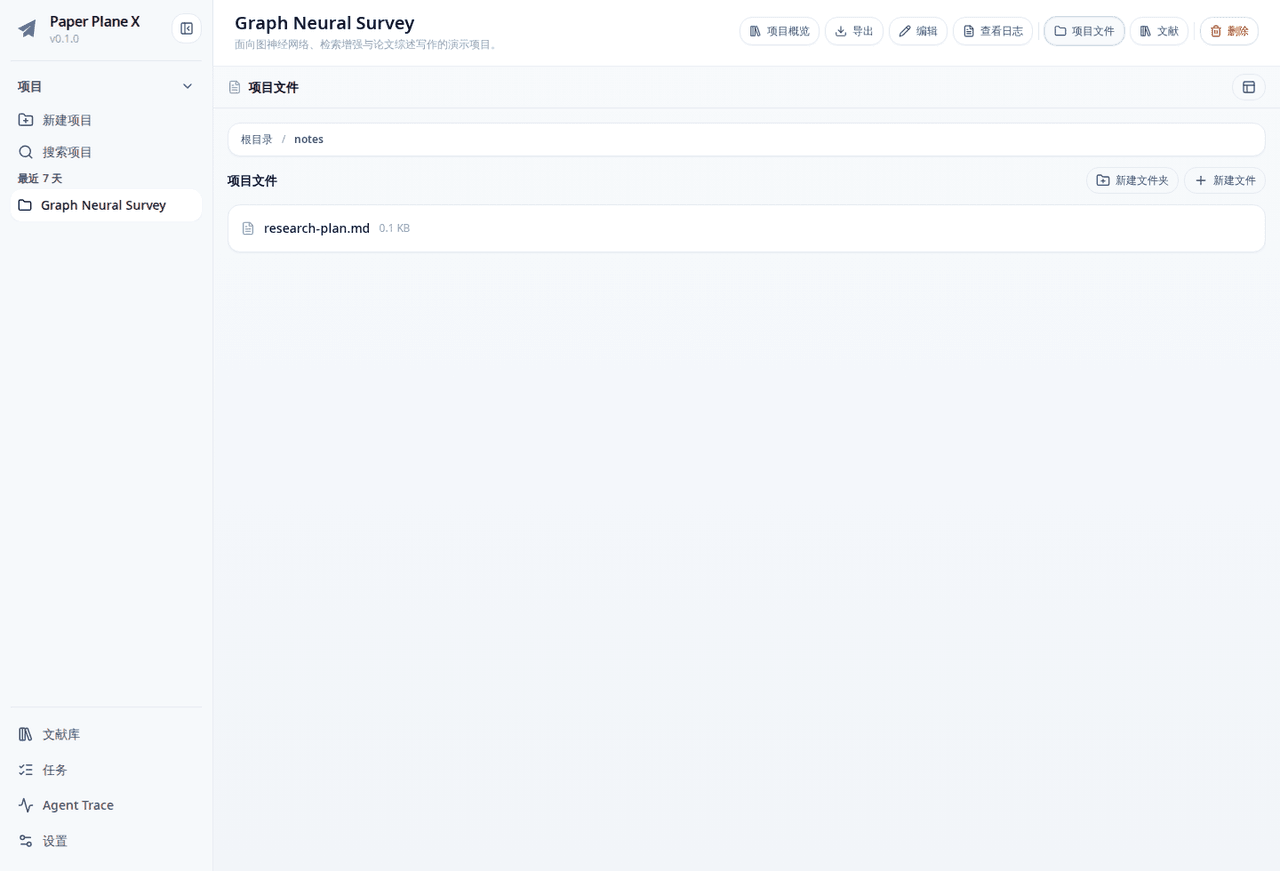 WindLX/paper_plane_x
Paper Plane X 是一个面向科研阅读、论文处理和综述写作的本地优先工作台。它把 PDF 解析、结构化论文抽取、事实核查、项目文件、文献检索和外部 Agent 工具串成一条可复用的研究流水线。
WindLX/paper_plane_x
Paper Plane X 是一个面向科研阅读、论文处理和综述写作的本地优先工作台。它把 PDF 解析、结构化论文抽取、事实核查、项目文件、文献检索和外部 Agent 工具串成一条可复用的研究流水线。
- Bob-Bo1/obsidian-workbench Obsidian-style workbench plugin for DeepSeek Harness
-
 ruvnet/ruflo
🌊 The original agent harness. Deploy intelligent multi-player swarms, coordinate autonomous workflows, and build conver…
ruvnet/ruflo
🌊 The original agent harness. Deploy intelligent multi-player swarms, coordinate autonomous workflows, and build conver…
-
 zilliztech/memsearch
A persistent, unified memory layer for all your AI agents (e.g. Claude Code, Codex, DSH), backed by Markdown and Milvus.
zilliztech/memsearch
A persistent, unified memory layer for all your AI agents (e.g. Claude Code, Codex, DSH), backed by Markdown and Milvus.