1MLightyears/dsh-theme-synthwave
一款合成波风格的DeepSeek Harness(dsh)主题
catalog 简介:A synthwave style DeepSeek Harness(dsh) theme
安装
# 本地目录
dsh plugin --profile web add link:<本仓库根目录>
# Git 仓库(发布到 GitHub 后)
dsh plugin --profile web add "git+https://github.com/<你的用户名>/dsh-theme-synthwave.git"
# npm(发布后)
dsh plugin --profile web add @1mlightyears/dsh-theme-synthwave
```
> **Git 安装说明**:`git+` 安装拉取的是**源码**(不是构建产物),DSH/pnpm 会在安装后运行本包的 `prepare` 脚本,从 `src/` 构建出 `lib/`。pnpm ≥10 出于安全默认拒绝运行 git 依赖的 `prepare`:第一次 `add` 会失败,`dsh` 会提示把 pnpm 打印的**确切包键**复制进该 profile 的 `pnpm-workspace.yaml`,例如:
>
> ```yaml
> allowBuilds:
> '@1mlightyears/dsh-theme-synthwave': true
> ```
>
> 然后重新执行 `add` 即可。建议锁定 commit(`git+https://…git#<sha>`),确保后续推送不会悄悄改变实际运行的代码。
>
如果你的仓库是 monorepo 且插件在子目录中:
```bash
dsh plugin --profile web add "git+https://github.com/<你的用户名>/<repo>.git#subdirectory=path/to/dsh-theme-synthwave"
```
2. **创建/编辑配置**
首次打开页面时,插件会自动在当前 profile 目录生成 `config.dsh-theme-synthwave.jsonc`(使用内置默认值)。你也可以参考 [`config.dsh-theme-synthwave.example.jsonc`](./config.dsh-theme-synthwave.example.jsonc) 手动创建。配置文件位于当前 profile 目录,而不是会话工作区。
3. **准备背景素材**
准备好图片/视频素材后,在配置界面上传(参见下方**配置**段落)。
4. **重启并刷新**
首次安装后重启 DSH,浏览器打开页面后硬刷新即可看到效果。之后修改 `config.dsh-theme-synthwave.jsonc` 只需硬刷新页面。
## ⚙️ 配置
也可以在 DSH 设置 → 插件配置 → 「DeepSeek Harness: 合成波风格主题」卡片中,直接打开或复制当前 profile 的配置文件路径。

插件会在当前 profile 目录(通常为 `$DSH_HOME/profiles/<profile>/`)查找 `config.dsh-theme-synthwave.jsonc`;不存在时自动用内置默认值创建一份。[`config.dsh-theme-synthwave.example.jsonc`](./config.dsh-theme-synthwave.example.jsonc) 是带逐项注释的参考模板,可直接照注释修改。
在「DeepSeek Harness: 合成波风格主题」卡片中可直接完成常用操作:选择/上传图片或视频、从「当前背景媒体」列表移除视频或单张图片、通过 URL / 裸文件名快速应用媒体源、以及编辑配置文件原文(「保存」写入,「取消」撤销未保存修改)。若配置文件解析失败,插件会临时套用默认配置且**不改动原文件**,并在界面提示你删除该文件让其自动重建默认配置,或参考示例文件修复。
一个不带注释的精简示例:把 1MLightyears/dsh-theme-synthwave 加入你的 DSH 配置(web profile)即可启用。
README
展开完整 README 收起
README 内容为空。
相关插件
-
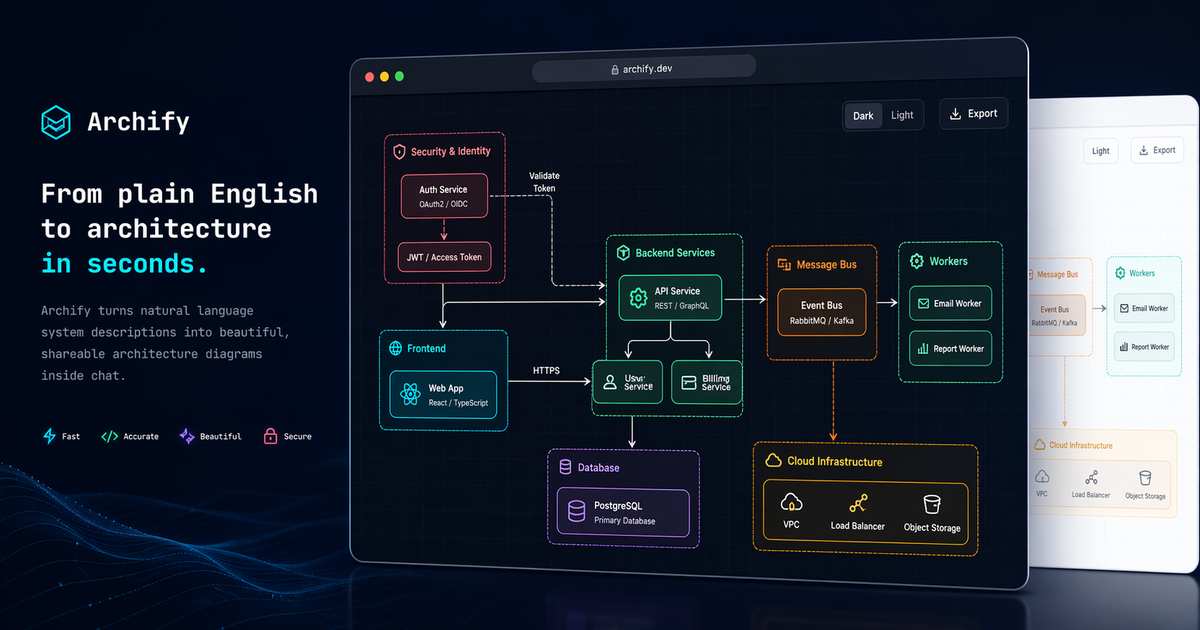 tt-a1i/archify
Agent skill for beautiful, verifiable architecture, workflow, sequence, data-flow, and lifecycle diagrams—self-contained…
tt-a1i/archify
Agent skill for beautiful, verifiable architecture, workflow, sequence, data-flow, and lifecycle diagrams—self-contained…
-
 zhu1090093659/dsh-web-ui
Plugin and skin collection for DeepSeek Harness (DSH) Web UI - task board, git graph, right-side panel, remote mobile UI…
zhu1090093659/dsh-web-ui
Plugin and skin collection for DeepSeek Harness (DSH) Web UI - task board, git graph, right-side panel, remote mobile UI…
-
 liustack/modlens
The first vision plugin for DeepSeek Harness, and the vision bridge for every text-only coding agent. Paste an image, ge…
liustack/modlens
The first vision plugin for DeepSeek Harness, and the vision bridge for every text-only coding agent. Paste an image, ge…
-
 omdsh-dev/DSH-better-sidebar
开放的侧边栏底座,支持三方拓展注册新侧边栏页面。内置文件渲染编辑/终端/Git/子代理页面 | Open sidebar foundation, supports third-party extensions to register new…
omdsh-dev/DSH-better-sidebar
开放的侧边栏底座,支持三方拓展注册新侧边栏页面。内置文件渲染编辑/终端/Git/子代理页面 | Open sidebar foundation, supports third-party extensions to register new…
-
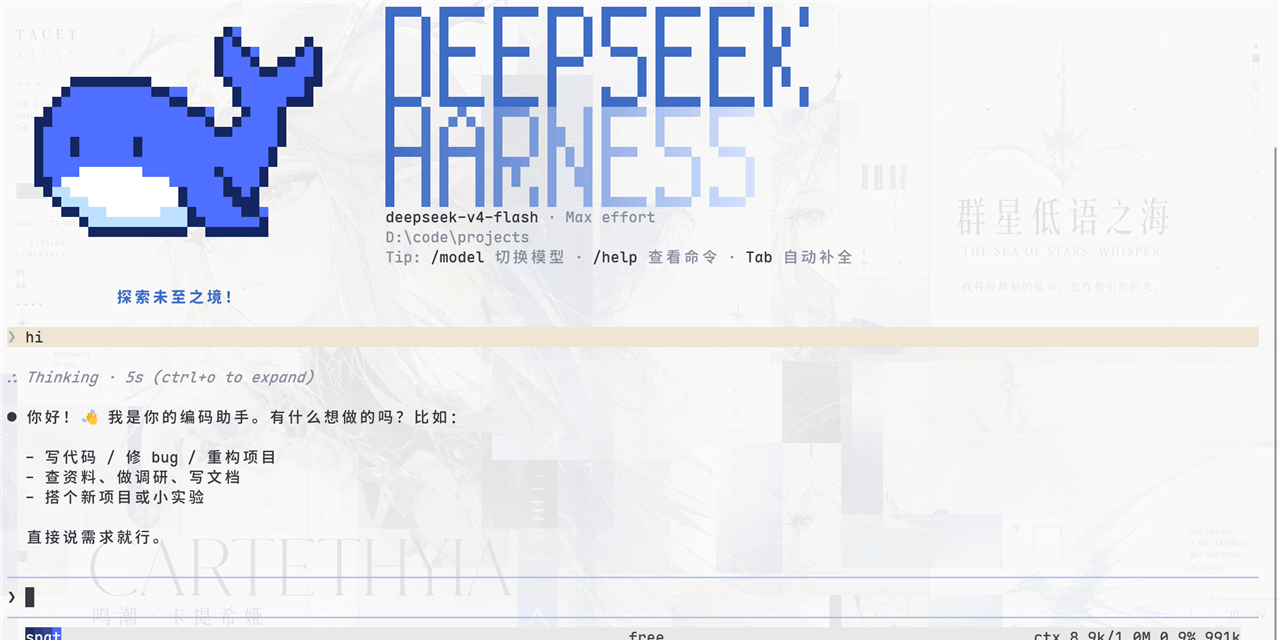 ccch1mneyyy/dsh-TUI
DSH 官方公众号收录的 TUI 补位插件:Claude Code 风,鲸鱼顶栏/实时状态/流式思考/双击 Esc 回滚/上下文进度+TPS。npm 一键装。 DSH official WeChat featured TUI plugin…
ccch1mneyyy/dsh-TUI
DSH 官方公众号收录的 TUI 补位插件:Claude Code 风,鲸鱼顶栏/实时状态/流式思考/双击 Esc 回滚/上下文进度+TPS。npm 一键装。 DSH official WeChat featured TUI plugin…
-
 agentrq/agentrq
AgentRQ: Human-in-loop realtime conversational task manager for AI Agents. Self-hosted! Control your own agents from whe…
agentrq/agentrq
AgentRQ: Human-in-loop realtime conversational task manager for AI Agents. Self-hosted! Control your own agents from whe…
-
 dsh-market/dsh-market
The plugin market inside DeepSeek Harness — browse, search, one-click install · DSH 可视化插件市场
dsh-market/dsh-market
The plugin market inside DeepSeek Harness — browse, search, one-click install · DSH 可视化插件市场
-
 ysr666/dsh-vision-router
Eyes for text-only DeepSeek Harness agents: built-in free vision chain (no key) + pixel-level vision tools (Q&A, groundi…
ysr666/dsh-vision-router
Eyes for text-only DeepSeek Harness agents: built-in free vision chain (no key) + pixel-level vision tools (Q&A, groundi…