weicy98/dsh-cftunnel
使用令牌/电子邮件验证的 dsh Cloudflare 隧道界面
catalog 简介:dsh cf tunnel ui with token/email verify
安装
dsh plugin --profile web add git+https://github.com/weicy98/dsh-cftunnel
   ```

2. **Restart `dsh web`**, open **Settings → Cloudflare Tunnel**.
3. **Pick a mode, fill in your Cloudflare info, click Connect.** Copy the access URL (it embeds a token on first use) and share it.

> The first Connect downloads `cloudflared` (~40 MB) once — on slow networks this can take several minutes; the Settings panel shows a progress bar while it downloads.

## Modes

Pick the mode that matches what you have:

| Mode | Inputs | URL | Use when |
| --- | --- | --- | --- |
| Quick tunnel | none | random `https://<name>.trycloudflare.com` | you want a URL right now, no Cloudflare account setup |
| Tunnel token | tunnel token + hostname | `https://<hostname>` | you already have a tunnel from the Zero Trust dashboard |
| API token | API token + tunnel name + hostname | `https://<hostname>` | you want the plugin to create the tunnel, DNS, and (optionally) email OTP for you |

## How it works, end to end

1. The Settings section shows a mode picker (Quick / Tunnel token / API token) and a **Connect** button.
2. On Connect the plugin first **self-provisions `cloudflared`** — if `$DSH_HOME/cloudflared/cloudflared` is missing it downloads the official GitHub release asset for your platform, extracts it, and caches it.
3. It starts the tunnel:
   - **Quick**: `cloudflared tunnel --url http://127.0.0.1:<proxyPort>` → random `https://<name>.trycloudflare.com`.
   - **Token**: `cloudflared tunnel run` with a remotely-managed token (routing/ingress configured in the Zero Trust dashboard).
   - **API**: create the tunnel + ingress + DNS CNAME through the Cloudflare HTTP API, then `cloudflared tunnel run` with the returned token (no `cert.pem`, no local config.yml).
4. All tunnel traffic flows through a **loopback reverse proxy** (`127.0.0.1:<proxyPort>`) that rewrites the Host header to loopback and drops Origin, so the harness trust fence accepts every request — privileged methods included. Access-token verification (default on) and optional Cloudflare Access email OTP gate the proxy.
5. **Secrets** (API token, tunnel token, proxy access token) live in the harness credential store (`~/.dsh/.credentials.yaml`); **non-secret preferences** (mode, hostname, tunnel name, account/zone ids, email-OTP settings) live in a `cloudflare-tunnel` settings namespace (`~/.dsh/settings.yaml`) and prefill the form on the next open.

## Install

From this checkout's directory:
把 weicy98/dsh-cftunnel 加入你的 DSH 配置(web profile)即可启用。
README
展开完整 README 收起
README 内容为空。
相关插件
-
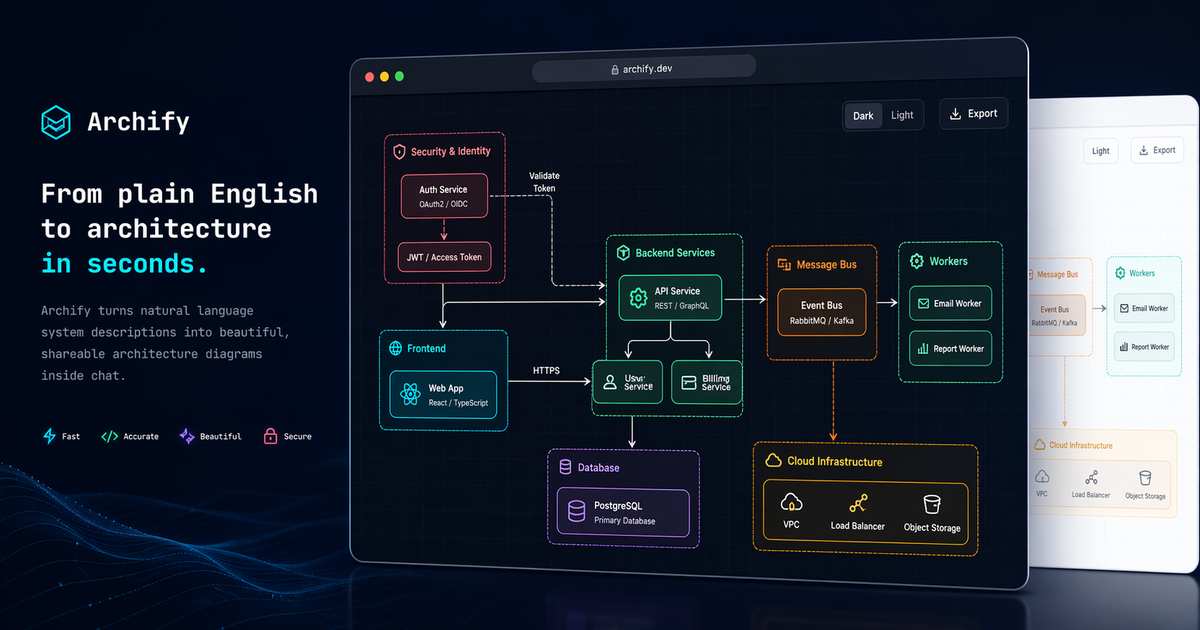 tt-a1i/archify
Agent skill for beautiful, verifiable architecture, workflow, sequence, data-flow, and lifecycle diagrams—self-contained…
tt-a1i/archify
Agent skill for beautiful, verifiable architecture, workflow, sequence, data-flow, and lifecycle diagrams—self-contained…
-
 zhu1090093659/dsh-web-ui
Plugin and skin collection for DeepSeek Harness (DSH) Web UI - task board, git graph, right-side panel, remote mobile UI…
zhu1090093659/dsh-web-ui
Plugin and skin collection for DeepSeek Harness (DSH) Web UI - task board, git graph, right-side panel, remote mobile UI…
-
 strukto-ai/mirage
The World's First Unified Virtual Filesystem For AI Agents
strukto-ai/mirage
The World's First Unified Virtual Filesystem For AI Agents
-
 liustack/modlens
The first vision plugin for DeepSeek Harness, and the vision bridge for every text-only coding agent. Paste an image, ge…
liustack/modlens
The first vision plugin for DeepSeek Harness, and the vision bridge for every text-only coding agent. Paste an image, ge…
-
 omdsh-dev/DSH-better-sidebar
开放的侧边栏底座,支持三方拓展注册新侧边栏页面。内置文件渲染编辑/终端/Git/子代理页面 | Open sidebar foundation, supports third-party extensions to register new…
omdsh-dev/DSH-better-sidebar
开放的侧边栏底座,支持三方拓展注册新侧边栏页面。内置文件渲染编辑/终端/Git/子代理页面 | Open sidebar foundation, supports third-party extensions to register new…
-
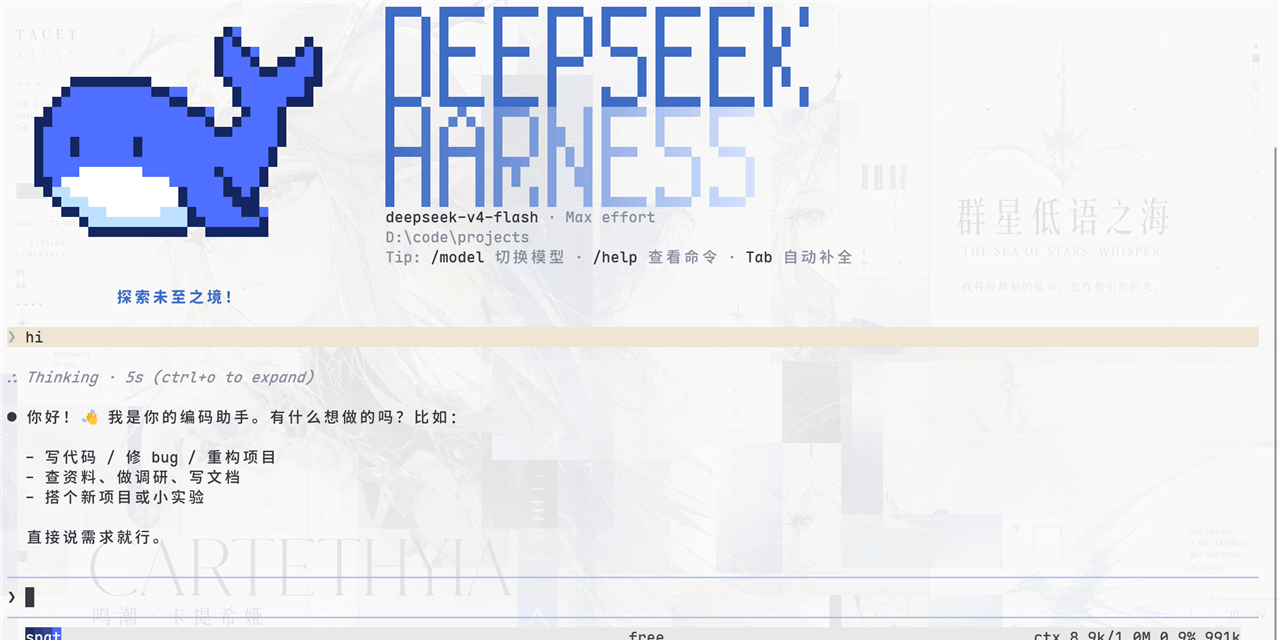 ccch1mneyyy/dsh-TUI
DSH 官方公众号收录的 TUI 补位插件:Claude Code 风,鲸鱼顶栏/实时状态/流式思考/双击 Esc 回滚/上下文进度+TPS。npm 一键装。 DSH official WeChat featured TUI plugin…
ccch1mneyyy/dsh-TUI
DSH 官方公众号收录的 TUI 补位插件:Claude Code 风,鲸鱼顶栏/实时状态/流式思考/双击 Esc 回滚/上下文进度+TPS。npm 一键装。 DSH official WeChat featured TUI plugin…
-
 agentrq/agentrq
AgentRQ: Human-in-loop realtime conversational task manager for AI Agents. Self-hosted! Control your own agents from whe…
agentrq/agentrq
AgentRQ: Human-in-loop realtime conversational task manager for AI Agents. Self-hosted! Control your own agents from whe…
-
 GanyuanRan/Aegis
Make AI coding agents architecture-aware: baseline-first, evidence-verified, drift-checked, and safe across long tasks.
GanyuanRan/Aegis
Make AI coding agents architecture-aware: baseline-first, evidence-verified, drift-checked, and safe across long tasks.