用 AI 图像工具制作博客配图Making Blog Graphics With AI Image Tools
别再翻图库了。用 AI 图像生成器,你可以从零做出独特又精致的博客配图。本文包含分步流程、免费工具推荐、提示词示例和实战经验。
Quit trawling stock libraries. With an AI image generator you can produce distinctive, polished blog visuals from scratch. Inside: a step-by-step process, free-tool picks, sample prompts and hard-won tips.
说实话,给文章找一张合适的配图相当折磨人。几个小时耗在图库里,最后挑中的还是那张被用滥的握手照,或者咖啡馆桌上摆着笔记本的老套画面——半个互联网都在用。
设想一下:完全不懂设计,也能在几分钟内做出原创、专业的配图。这正是 AI 图像工具在 2026 年能做到的事。
本文会把整套流程讲透:哪些免费和付费工具值得用、提示词怎么写才真能出图,以及如何把成品调到既有视觉冲击力、又能兼顾搜索表现。
01为什么博客配图要用 AI 图像工具
以前的选择很有限:花钱请设计师、自己在 Photoshop 里耗时间,或者退而求其次用谁都能认出的图库素材。AI 把这份清单改写了:
🎨 传统做法
- 周期:2-5 天
- 独特性:只能在图库现有素材里挑
- 掌控度:取决于设计师的档期
- 修改:每一轮都要另外付费
🤖 AI 图像工具
- 周期:每张图 30 秒
- 独特性:每次都 100% 原创
- 掌控度:想改立刻就能改
- 修改:不限次数,不额外收费
多数指南只讲了省钱这一半。成本只是吸引力的一部分,真正的价值在于品牌一致性:所有配图都由 AI 产出,整站就能共用一套视觉语言——风格、配色、调性统一,这是图库素材几乎做不到的。
如果你在做多语言内容,还有第二个好处——比如 用 AI 翻译文档 的时候。配图可以按市场逐个适配当地文化,不必在每个国家另约摄影师。
02实测后值得用的生成器
我上手测过几十款图像生成器,下面这些在博客配图这件事上是真的靠谱:
Leonardo.ai
Canva AI (Magic Media)
Midjourney
Adobe Firefly
Bing Image Creator
Playground AI
03从零做出第一张配图
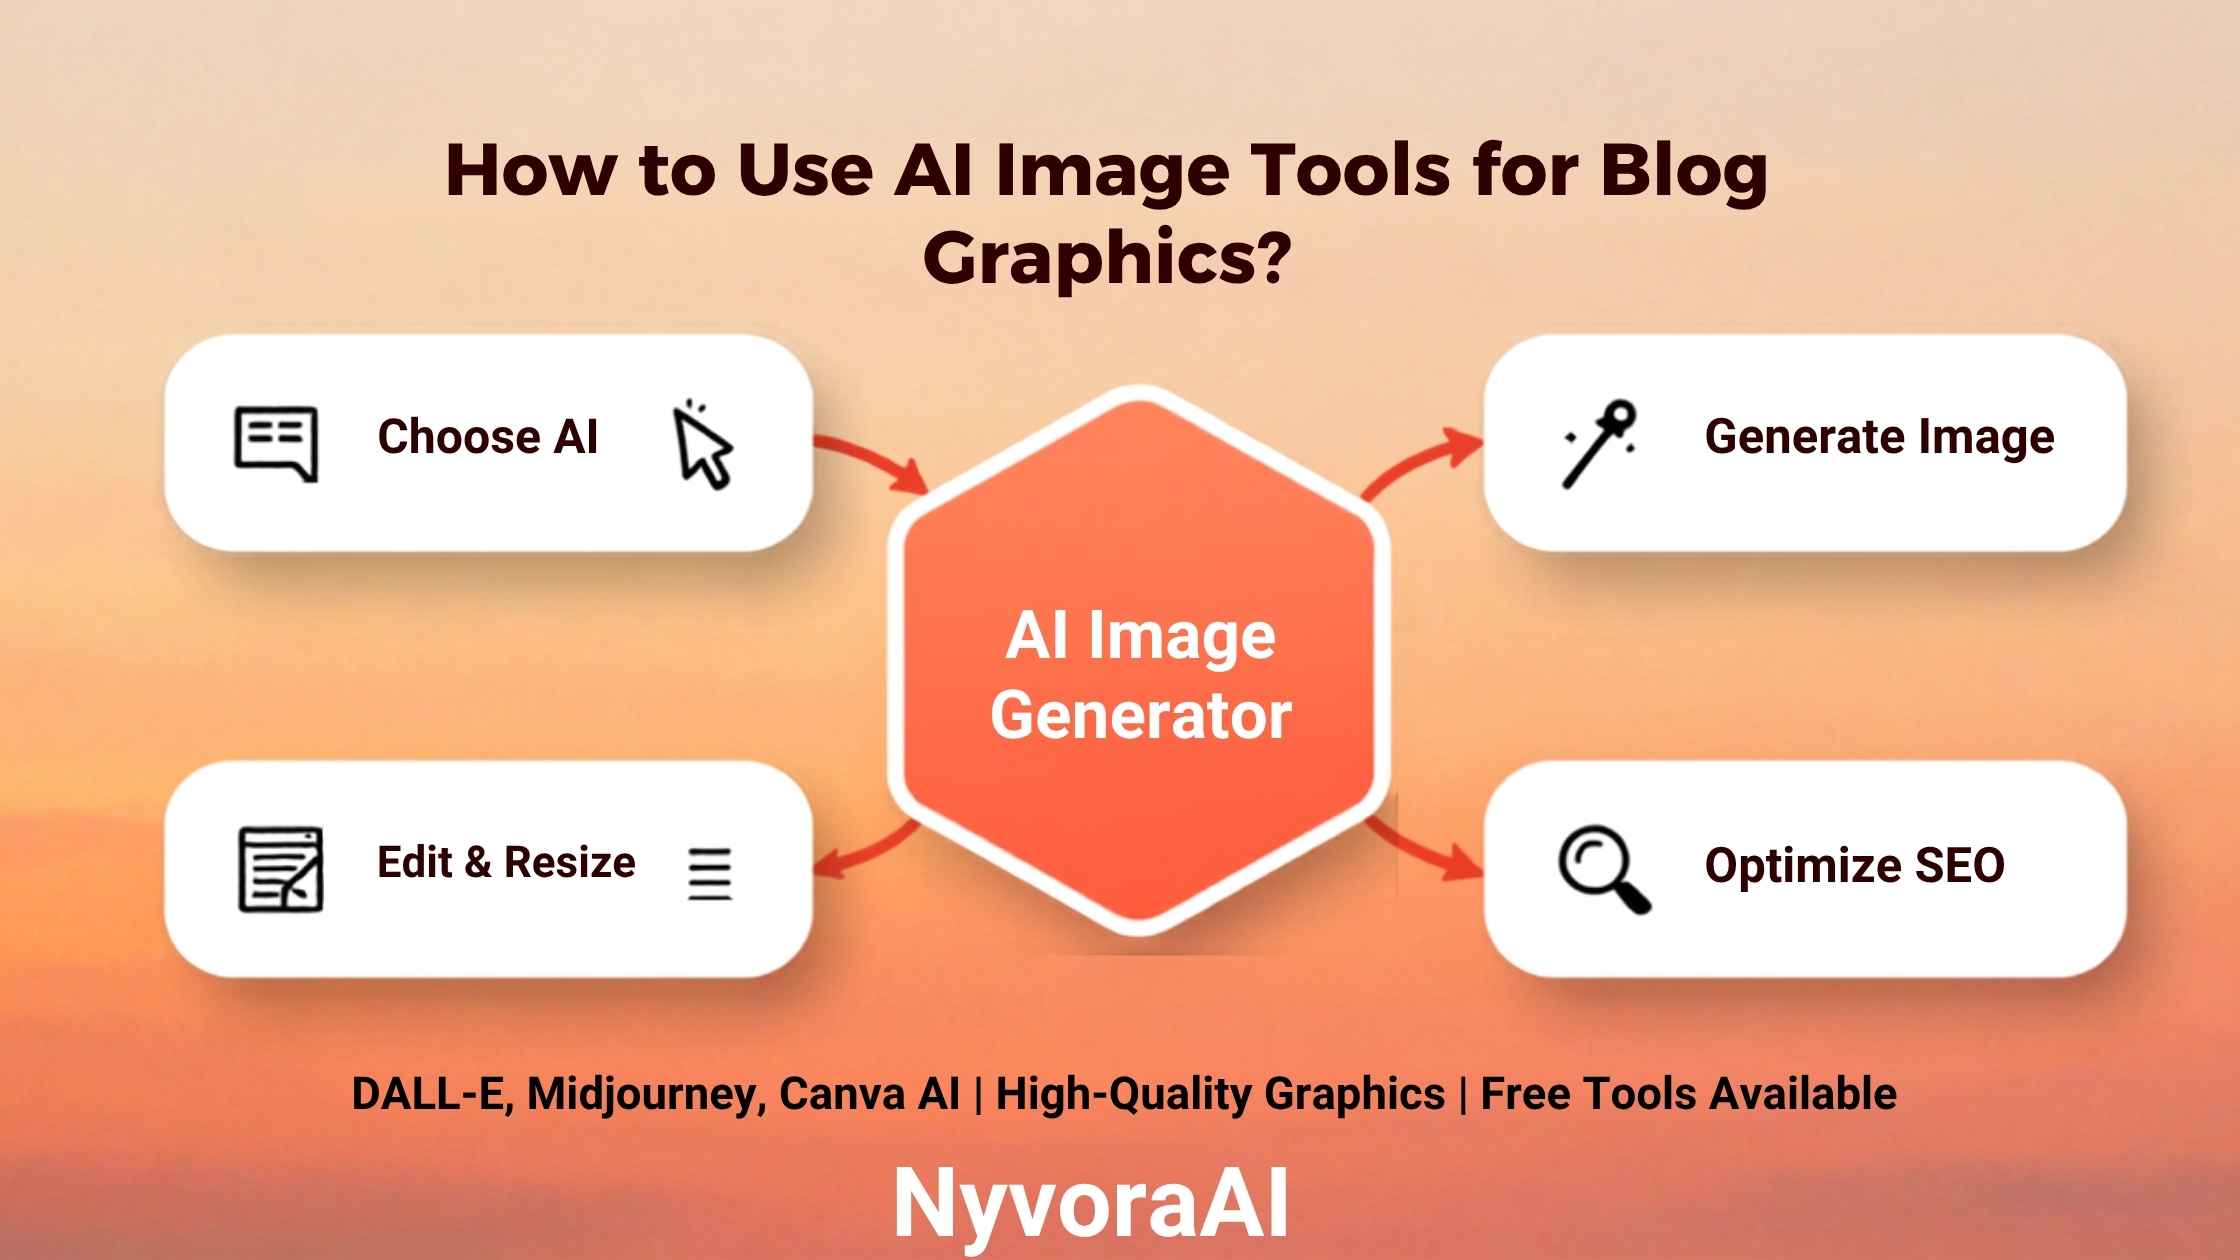
下面是做出第一张 AI 博客配图的完整步骤,我一步步带你走:
- 1
选工具
1 这个教程用 Leonardo.ai 演示,免费版就够。用 Google 账号或邮箱在 leonardo.ai 注册,注册完立刻到账 150 个额度,大约能生成 75 张图。
- 2
设定尺寸
2 进入 Image Generation,把尺寸设为 1200x630px——特色图和社交卡片的最佳比例。一开始就设对,后面就不用为裁切变形发愁。
- 3
写提示词
3 越具体越好。把「business meeting」换成「a diverse modern team working together in a bright minimalist office, natural light, professional photography, blue-and-white palette, wide-angle framing」,出的图就从千篇一律变成可用的素材。所以,把它写清楚。这几句的意思是:一支多元化的现代团队在明亮极简的办公室里协作,自然光,专业摄影质感,蓝白配色,广角构图。
- 4
生成并微调
4 点生成,看那 4 张备选。都不满意的话,要么改提示词,要么用 Image Guidance 上传一张参考图来锁定风格。
- 5
下载并优化
5 把最满意的一张存成 PNG,再用 TinyPNG 或 Squoosh 压一下体积——控制在 200KB 以内,页面加载才快。上传到博客之前先把 alt 文本写好。
这套流程和 用 AI 撰写产品描述 是同一个路数:先给清晰的需求,再根据结果调整,最后针对发布平台做优化。
04怎么写出好用的配图提示词
决定一张 AI 图是平庸还是惊艳的,就是提示词本身。下面这个公式,我每次做配图都会用:
提示词公式
主体,然后是风格,然后是构图,然后是光线,然后是色彩,最后是画质。
按博客类型分的模板
科技博客:
「Holographic futuristic interface showing analytics data, neon blue accents against a dark backdrop, cyberpunk mood, digital art, wide-angle framing, blog featured image, 1200x630px」。意思是:全息未来感界面展示数据分析,深色背景配霓虹蓝点缀,赛博朋克氛围,数字艺术风格,广角构图,博客特色图,1200x630px。
商业/财经博客:
「Upward-pointing growth arrow on a clean white field, minimalist business illustration, green-to-blue gradient, corporate flat design, sized for a blog header」。意思是:干净白底上一支向上的增长箭头,极简商务插画,绿到蓝的渐变,企业扁平设计风格,适合做博客页头。
生活类博客:
「Cosy reading corner with books and a mug of coffee, golden-hour warmth, hygge feel, muted pastel shades, lifestyle photography treatment, calm and welcoming mood, blog post featured image」。意思是:摆着书和咖啡的温馨阅读角,金色黄昏暖光,北欧 hygge 氛围,柔和的马卡龙色,生活方式摄影质感,安宁而有吸引力,用作博客特色图。
健康与养生:
「Bright smoothie bowl topped with fruit and granita, shot from directly above, vivid natural light, health-food photography, saturated colours, clean-eating styling, presentation worthy of Instagram」。意思是:色彩鲜亮的果昔碗,上面铺着水果和冰沙,正上方俯拍,明亮的自然光,健康食品摄影,色彩饱和,轻食风格,摆盘适合发 Instagram。
05为速度和搜索表现优化图片
生成图片只是容易的那一半。真正让 AI 配图在博客上跑得起来的,是下面这些处理:
尺寸与格式
- 特色图:1200x630px,社媒分享的 OG 标准尺寸
- 正文内插图:宽度 1000-1200px,在视网膜屏上也能保持清晰
- Pinterest 图钉:1000x1500px,2:3 比例表现最好
- 格式:WebP 比 PNG 小 30%,或者用 80% 画质的 JPEG
压缩体积
AI 生成的图片体积偏大,常见 2-5MB,上传前先压缩:
- TinyPNG:免费,拖拽即用,画质不受影响
- Squoosh:Google 出品,可控参数更细
- ShortPixel:WordPress 插件,自动完成优化
搜索优化
- 文件名:用有描述性的名字,比如「ai-image-tools-blog-graphics-guide.png」,别用「image001.png」
- alt 文本:既描述画面内容,也把关键词自然写进去。例如「Blog graphic generated by AI depicting a contemporary workspace with a laptop and an analytics dashboard」,大意是:AI 生成的博客配图,画面上是一个带笔记本和分析面板的现代办公场景。
- 图片标题:加上 title 属性,鼠标悬停时显示提示
- 图注:用图注补充背景,让读者愿意继续读
只要内容带专业属性,这一步就不能马虎——无论是 用 AI 改进简历 还是别的内容;图片加载慢,既伤阅读体验,也拖累排名。
06授权与商用边界
这一段要仔细看:并非所有 AI 图片都能直接商用。需要留意的地方如下:
✅ 商用风险低
- Shutterstock AI Generator
- Midjourney(付费方案)
- Leonardo.ai(付费方案)
- Canva Pro(订阅期内)
⚠️ 需仔细核对条款
- Playground AI(免费版商用受限)
- Bing Image Creator(仅限个人项目)
- Stable Diffusion(取决于所用模型)
- DALL-E 3(需查 OpenAI 条款)
关键授权规则
- 免费版通常不允许商用,博客一旦开始赚钱,就要升级到付费版
- 署名要求:部分工具要求你标注 AI 生成
- 商标风险:不要生成带品牌的产品图或名人肖像
- 肖像授权:AI 生成的人物一般不需要模特授权书,但也有例外
- 版权归属:美国版权局认为 AI 图片目前无法获得版权保护
拿不准的时候,就用 Adobe Firefly 或 Shutterstock AI——它们的训练数据来自已授权内容,并提供商用赔偿保障。
07进阶技巧:做出专业级效果
基础熟练之后,这几招是我做客户项目时会用的:
1. 图生图
上传一张参考图,让模型照着走。这是在多篇文章之间维持品牌一致性的最干净做法,做系列内容、或需要配图贴合既有品牌调性时尤其管用。
2. 用自家素材训练模型
Leonardo.ai 这类平台支持用你自己的图库训练模型。上传 10-20 张符合品牌风格的图片,它就能生成与之严丝合缝的新图。就品牌一致性而言,这一步带来的变化是质变级的。
3. 批量生成
同一个概念一次生成 20-30 个版本,再从中挑。比一张一张出图快得多,也很适合在社交媒体上做特色图的 A/B 测试。
4. AI 与传统设计结合
让 AI 出底图,再到 Canva 或 Photoshop 里叠加文字、logo 和图形。这样既保留 AI 的速度,又拿到设计的精度。同一个道理也适用于 给网站做聊天机器人:让机器提效率,让人来把关。
5. 打造系列图
保持随机种子和提示词骨架不变,就能为多篇连载做出成套统一的图片。这根视觉线索,正是把读者从一篇带到下一篇的关键。
08建立能长期跑下去的流程
下面是我批量产出博客配图的固定节奏:
每周批量推进
- 周一:定下本周的文章清单,并为每张特色图写好提示词。
- 周二:一次性把全部图片生成出来,用 Leonardo.ai 的批处理模式。
- 周三:逐张审阅、微调不满意的,下载最终选定的图。
- 周四:压缩优化图片,补上 alt 文本。
- 周五:上传到 WordPress 媒体库,打标签、做分类。
按这套节奏,大约 3 小时就能做完 4-5 篇文章的配图。换成传统设计或翻图库,同样的量要花 20 小时以上。
如果你正在学一门外语,想 用 AI 工具学语言,还可以用 AI 生成的图片做视觉单词卡,风格按自己的学习习惯来定。
09常见问题
做博客配图,哪些免费 AI 图像工具最好用?
用这些工具需要设计经验吗?
AI 生成的图片能安全商用吗?
博客配图该用多大尺寸?
怎么让 AI 图片看起来不那么假?
这些工具能生成真实人物或品牌形象吗?
10结语:今天就开始自己做配图
说到底,这些工具不是来取代设计师的,而是把设计能力交到更多人手里。如今做出亮眼的博客配图,既不需要 $5,000 预算,也不需要设计学位。
先从免费工具入手,Leonardo.ai 或 Bing Image Creator 都行,然后反复练提示词。坚持一周,你做出的图片,放在几个月前得花上几百美元。
2026 年跑在前面的博客,并不是预算最厚的那些,而是懂得用 AI 大规模产出独特、契合品牌调性配图的那些。你完全可以成为其中之一。
下一篇要发的文章,不该再套上那些用滥的图库素材。给它配上独特、抓眼的视觉,读者和互动数据都会给你回报。
Be honest about this part: hunting down the right picture for a post is demoralising. Hours vanish into stock libraries, and what you finally settle on is the same clichéd handshake or laptop-sitting-on-a-café-table shot that half the internet already runs.
Now imagine turning out original, professional-looking graphics in minutes with no design background at all. That is precisely what AI image tools make possible in 2026.
This guide walks through the whole craft: which free and paid tools are worth your time, how to phrase prompts that actually produce usable images, and how to tune the output for both visual punch and search visibility.
01What AI Brings to Blog Visuals
The old options were narrow: pay a designer, grind through Photoshop yourself, or settle for stock photography everyone recognises. AI rewrites that list:
🎨 The old way
- Turnaround: 2-5 days
- Originality: whatever the stock library happens to hold
- Control: you wait on the designer's calendar
- Revisions: each round is billed again
🤖 With AI tools
- Turnaround: 30 seconds an image
- Originality: 100% original, every single time
- Control: iterate the moment you want to
- Revisions: unlimited, at no charge
Most guides leave out the more interesting half. Cost is only part of the appeal; the real prize is brand consistency. Produce every graphic through AI and one visual language, same style, same palette, same mood, runs across the whole blog, which stock photography almost never manages.
There is a second benefit if you publish across languages, say, when you translate documents using AI. Visuals can be tailored to local culture market by market, and you never have to book a photographer in each country.
02Image Generators Worth Using, Tested
Dozens of generators have passed through my hands; these are the ones that genuinely hold up for blog work:
Leonardo.ai
Canva AI (Magic Media)
Midjourney
Adobe Firefly
Bing Image Creator
Playground AI
03Your First Graphic, Start to Finish
Below is the exact sequence I use to produce a first AI blog graphic:
- 1
Pick a tool
1 Leonardo.ai is the tool for this walkthrough, and its free tier will do. Create an account at leonardo.ai using Google or an email address. 150 credits land in your balance straight away, which covers roughly 75 images.
- 2
Fix the dimensions
2 Head to Image Generation and enter 1200x630px as the size, the sweet spot for featured images and social cards. Getting this right up front saves you from ugly cropping later.
- 3
Compose the prompt
3 Precision is everything. Replacing "business meeting" with something along the lines of "a diverse modern team working together in a bright minimalist office, natural light, professional photography, blue-and-white palette, wide-angle framing" is the difference between generic and usable. So spell it out.
- 4
Generate, then refine
4 Hit generate and look through the 4 options. If none appeal, either rework the prompt or use Image Guidance to feed in a reference image and lock the style.
- 5
Download and optimise
5 Save the winner as PNG, then run it through TinyPNG or Squoosh to shrink the file; under 200KB keeps pages loading fast. Write the alt text before the image goes anywhere near your blog.
The shape of this routine matches using AI to draft product descriptions: lead with a clear brief, adjust against what comes back, then tune for wherever it will be published.
04Prompts That Produce Good Graphics
What separates a forgettable AI image from a striking one is the prompt itself. The formula below is the one I apply every time:
The formula
Subject, then style, then composition, then lighting, then colour, then quality.
Templates by blog niche
Technology Blog:
"Holographic futuristic interface showing analytics data, neon blue accents against a dark backdrop, cyberpunk mood, digital art, wide-angle framing, blog featured image, 1200x630px"
Business/Finance Blog:
"Upward-pointing growth arrow on a clean white field, minimalist business illustration, green-to-blue gradient, corporate flat design, sized for a blog header"
Lifestyle Blog:
"Cosy reading corner with books and a mug of coffee, golden-hour warmth, hygge feel, muted pastel shades, lifestyle photography treatment, calm and welcoming mood, blog post featured image"
Health & Wellness:
"Bright smoothie bowl topped with fruit and granita, shot from directly above, vivid natural light, health-food photography, saturated colours, clean-eating styling, presentation worthy of Instagram"
05Tuning Images for Speed and Search
Generating the file is the easy half. The following steps are what make an AI graphic actually perform on a blog:
Dimensions and file type
- Featured image: 1200x630px, the OG standard social platforms expect
- Images inside the post: 1000-1200px across, wide enough to stay crisp on retina screens
- Pinterest pins: 1000x1500px, since the 2:3 ratio outperforms everything else
- File type: WebP comes out 30% smaller than PNG, or use JPEG at 80% quality
Shrinking the file
AI output tends to be heavy, often 2-5MB, so compress before anything is uploaded:
- TinyPNG: costs nothing, drag-and-drop, keeps quality intact
- Squoosh: built by Google, with fine-grained controls
- ShortPixel: a WordPress plugin that optimises automatically
Search visibility
- File name: something descriptive such as "ai-image-tools-blog-graphics-guide.png", never "image001.png"
- Alt text: describe what is in the picture and work your keyword in naturally, e.g. "Blog graphic generated by AI depicting a contemporary workspace with a laptop and an analytics dashboard"
- Image title: set a title attribute so tooltips appear
- Caption: a caption adds context and holds reader attention
Getting this right matters whenever the content is professional, whether that is using AI to improve your resume or anything else; sluggish images drag down both the reader's experience and your rankings.
06Licences and Commercial Rights
Read this part twice: commercial rights are not automatic with every AI image. Points to check:
✅ Generally safe to sell with
- Shutterstock AI Generator
- Midjourney, on the paid tiers
- Leonardo.ai, on the paid tiers
- Canva Pro, while the subscription is active
⚠️ Read the fine print
- Playground AI, whose free plan allows only limited commercial use
- Bing Image Creator, for personal projects only
- Stable Diffusion, with rights varying by model
- DALL-E 3, so check the OpenAI terms
The rules that matter
- Free plans usually bar commercial use, so upgrade the moment your blog starts earning money
- Attribution may be required, with some tools demanding you credit the AI
- Trademarks are a risk, so avoid requesting branded products or celebrity likenesses
- Model releases are generally not needed for AI-generated people, though exceptions exist
- On copyright, the US Copyright Office holds that AI images cannot be protected (for now)
If the legal picture is unclear, stick with Adobe Firefly or Shutterstock AI; both train on licensed material and offer commercial indemnification.
07Techniques for Professional-Grade Output
Once the basics are comfortable, these are the techniques I reach for on client projects:
1. Working image to image
Supply a reference image and the model follows it. This is the cleanest way to hold brand consistency across a run of posts, and it pays off whenever you are building a series or need visuals that sit inside an existing brand look.
2. Training a model on your own work
Leonardo.ai and similar platforms will train a model on your own library. Give it 10-20 examples in your brand style and it starts producing new images that fit seamlessly. For brand consistency, this changes what is possible.
3. Generating in batches
Produce 20-30 takes on a single concept and choose afterwards. It beats generating them one by one, and it is ideal for A/B testing whichever image carries a social post.
4. Blending AI with conventional design
Let AI produce the base image, then layer text, logos and shapes onto it in Canva or Photoshop. You keep AI's speed while gaining design precision. The same logic applies to building a chatbot for your website: pair machine efficiency with a human checking the result.
5. Building an image series
Hold the seed number and the prompt skeleton constant, and you get a coherent set of images for a multi-part series. That visual thread is what carries a reader from one post to the next.
08A Workflow You Can Keep Running
This is the weekly rhythm I use to keep blog graphics coming at volume:
The weekly batch
- Monday: map out the week's posts and draft a prompt for every featured image.
- Tuesday: run every image in a single sitting, using Leonardo.ai's batch mode.
- Wednesday: review the results, refine the weak ones, download the keepers.
- Thursday: compress and optimise the files, then write the alt text.
- Friday: push everything into the WordPress media library, tag and categorise.
Under this system, roughly 3 hours covers the graphics for 4-5 posts. Doing the same through conventional design or stock-image hunting would eat 20+ hours.
Studying a language and keen to applying AI tools to language learning? AI-generated pictures make serviceable visual vocabulary cards, and you can style them to suit how you learn.
09Reader Questions
Which free AI image tools are best for blog graphics?
Do I need design experience to use them?
Are AI-generated images safe to use commercially?
What dimensions should blog graphics use?
How do I stop AI images looking fake?
Can these tools depict real people or brands?
10Wrapping Up: Make Your Own Graphics
The plain truth is that these tools do not displace designers; they put design within reach. A $5,000 budget and a design degree are no longer prerequisites for producing standout blog visuals.
Pick up a free option first, Leonardo.ai or Bing Image Creator, and keep practising your prompts. A week of that is enough to start producing images that, only months ago, would have run into hundreds of dollars.
In 2026 the blogs pulling ahead are not the best-funded ones. They are the ones using AI to generate on-brand visuals, distinct and at volume. There is no reason that cannot be yours.
The next post you publish should not be dressed in the same tired stock imagery. Give it graphics that are distinct and worth looking at, and both your readers and your engagement numbers will reward you.